Table of Content
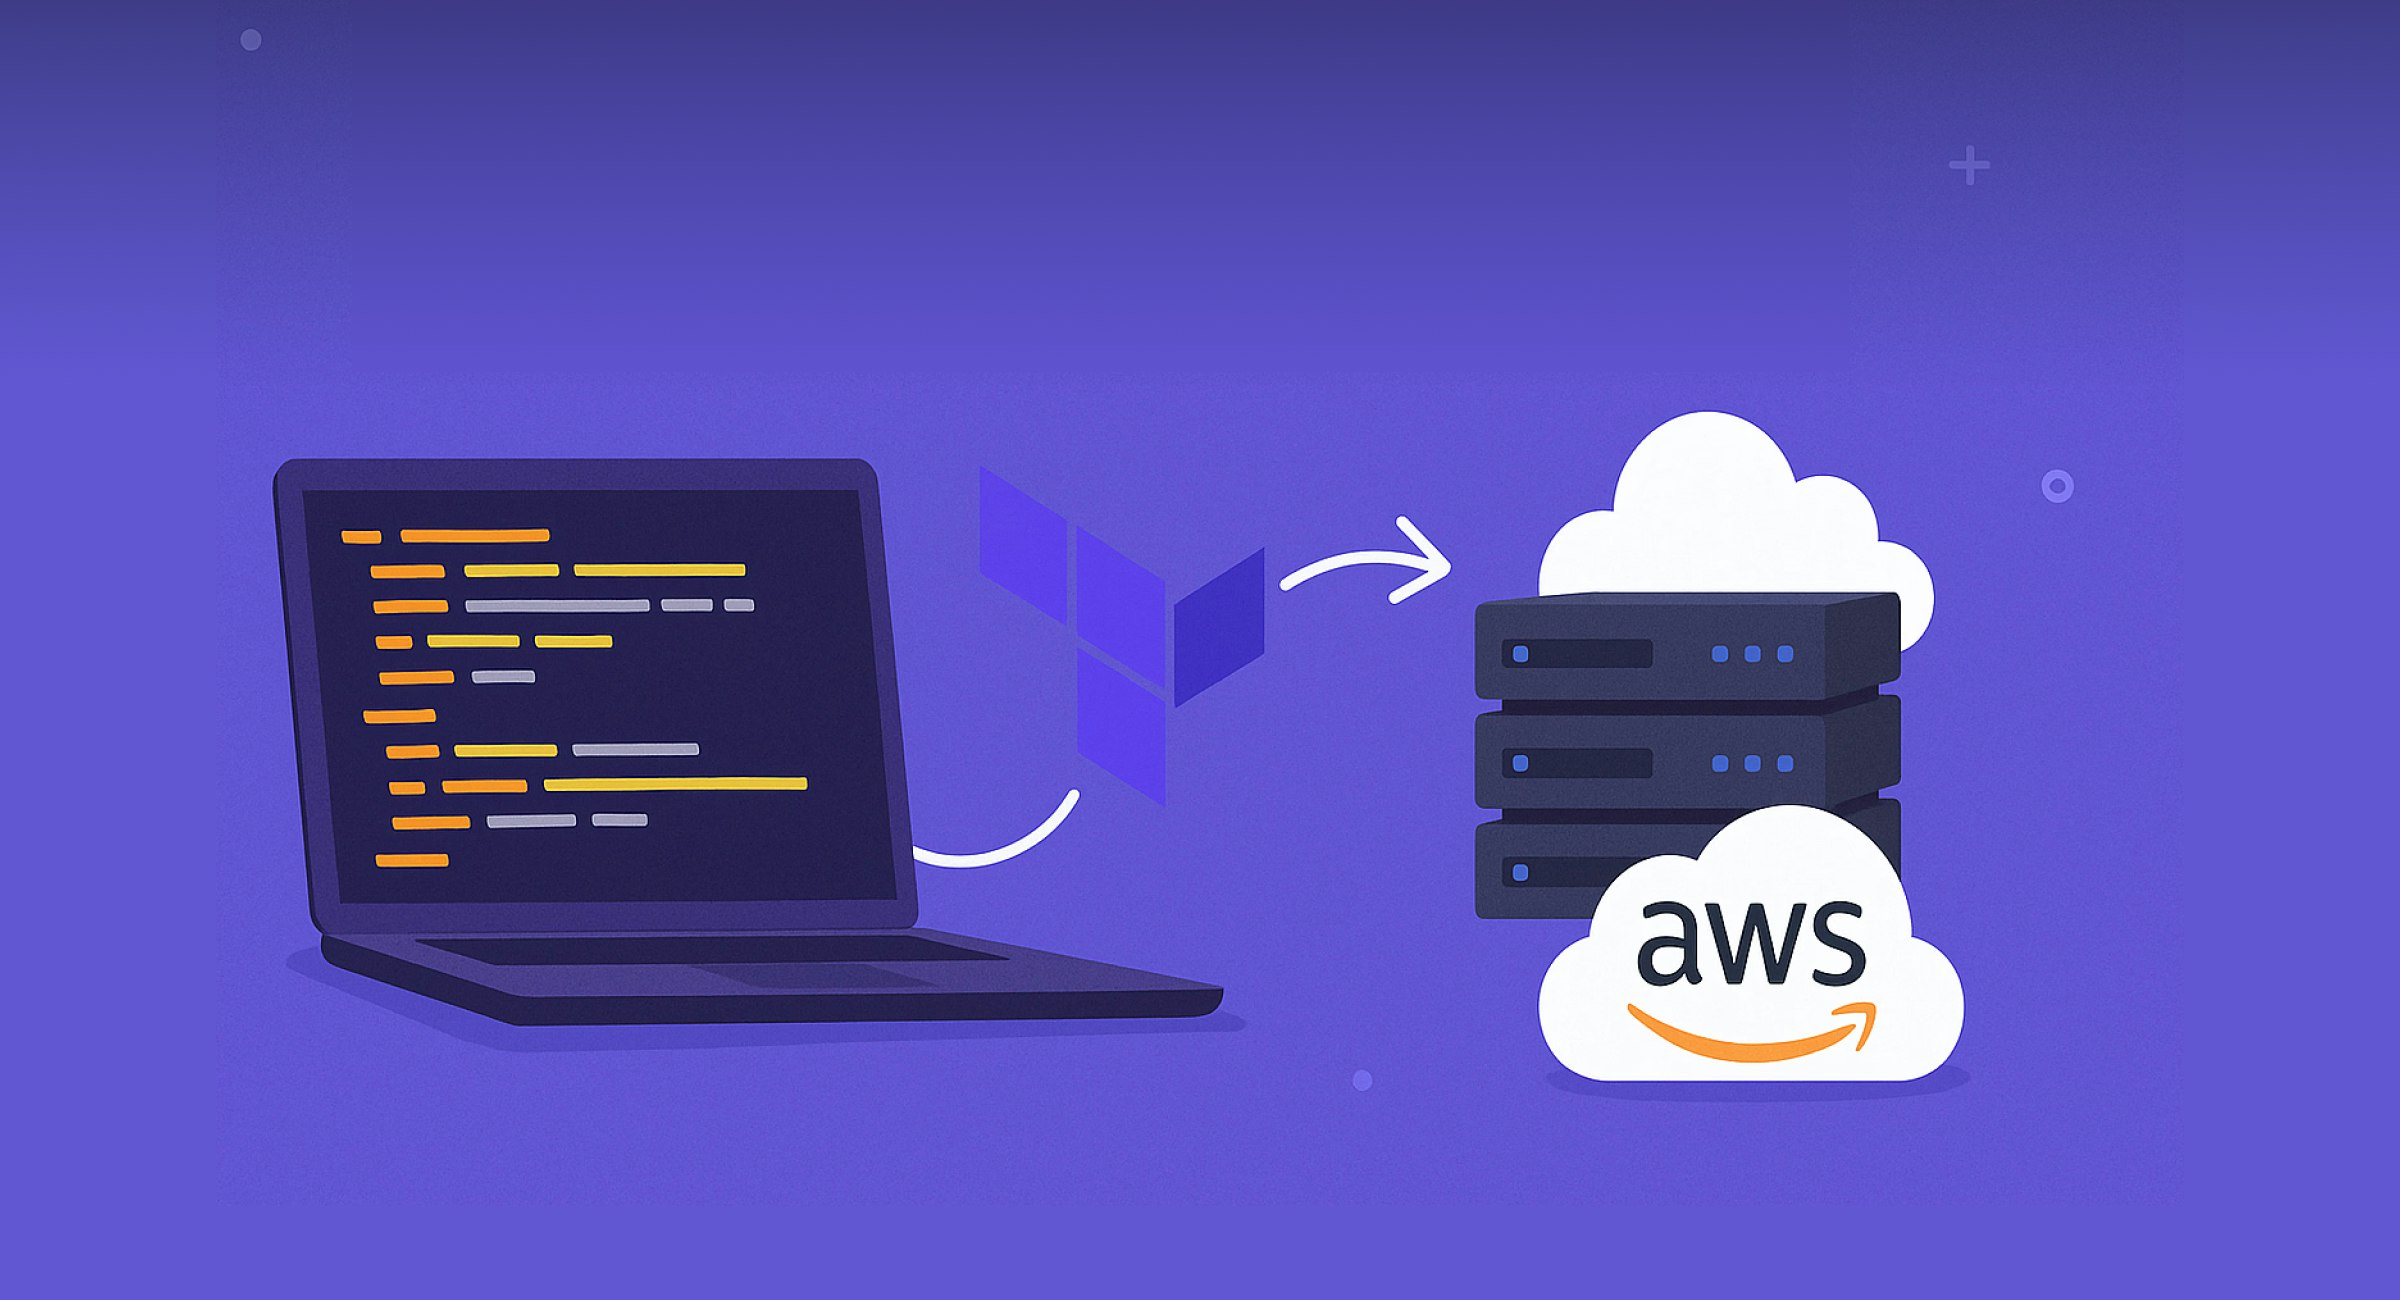
Infrastructure as Code (IaC) has revolutionized the way IT teams manage cloud resources. Instead of manually configuring servers, networking, and storage, IaC allows you to define your infrastructure in code. This brings consistency, automation, and scalability to cloud environments.

What is Infrastructure as Code (IaC)?
Infrastructure as Code allows you to define and provision cloud infrastructure using code. Instead of manually configuring servers or services, everything is automated and version-controlled — just like your application code.
Benefits include:
- Faster deployments
- Version control of infrastructure
- Reduced manual errors
- Scalable and reusable templates
Why Terraform?
Terraform, by HashiCorp, is a powerful, open-source IaC tool that allows you to define both low-level components (like EC2, S3) and high-level services (like Route 53 or VPCs) using HCL (HashiCorp Configuration Language).
Advantages of Terraform:
- Cloud-agnostic (AWS, Azure, GCP)
- Declarative syntax
- Reusable modules
- State management for tracking resource changes

Setting Up Terraform for AWS
Before we start writing Terraform code, we need to install Terraform and configure AWS credentials.
Step 1: Install Terraform on Ubuntu
Run the following commands to install Terraform on Ubuntu:
sudo apt update && sudo apt upgrade -y
sudo apt install -y gnupg software-properties-common curl
curl -fsSL https://apt.releases.hashicorp.com/gpg | sudo tee /usr/share/keyrings/hashicorp-archive-keyring.gpg
echo "deb [signed-by=/usr/share/keyrings/hashicorp-archive-keyring.gpg] https://apt.releases.hashicorp.com $(lsb_release -cs) main" | sudo tee /etc/apt/sources.list.d/hashicorp.list
sudo apt update
sudo apt install -y terraform
Verify the installation:
terraform --version
Step 2: Install and Configure AWS CLI on Ubuntu
To allow Terraform to interact with AWS, install the AWS CLI:
curl "https://awscli.amazonaws.com/awscli-exe-linux-x86_64.zip" -o "awscliv2.zip"
unzip awscliv2.zip
sudo ./aws/install
Verify the installation:
aws --version
Now, configure AWS credentials:
aws configure
It will prompt for:
- AWS Access Key ID
- AWS Secret Access Key
- Default region (e.g., us-east-1)
- Output format (leave as json)
Step 3: Install Unzip and Other Dependencies
Terraform might need unzip and other dependencies to function properly. Install them with:
sudo apt install unzip -y
Writing Your First Terraform Configuration
Terraform uses .tf files to define resources. Let's create an AWS EC2 instance using Terraform.
Step 1: Create a Working Directory
Create a new directory for the Terraform project:
mkdir terraform-aws
cd terraform-aws
Step 2: Define AWS Provider in Terraform
Create a file called main.tf and add the following code:
provider "aws" {
region = "us-east-1"
}
This tells Terraform that we are using AWS as our cloud provider in the us-east-1 region.
Step 3: Define an EC2 Instance
Now, we will define an EC2 instance inside main.tf:
resource "aws_instance" "my_ec2" {
ami = "ami-0c55b159cbfafe1f0"
instance_type = "t2.micro"
tags = {
Name = "TerraformEC2"
}
}
Here, we are specifying:
- AMI ID: The Amazon Machine Image (AMI) determines the OS of the EC2 instance. Ensure you use an appropriate AMI ID for your region.
- Instance Type: We are using t2.micro, which is free-tier eligible.
- Tags: Assigns a name to the instance.
Initializing and Applying Terraform Code
Step 1: Initialize Terraform
Run the following command to initialize the working directory:
terraform init
This downloads the AWS provider plugin required for Terraform.
Step 2: Plan Changes
Before applying changes, check what Terraform will do:
terraform plan
It will display the resources that will be created.
Step 3: Apply the Terraform Configuration
Run the following command to create the EC2 instance:
terraform apply
It will ask for confirmation. Type yes to proceed. Terraform will then create the instance and display the details.
Managing Terraform State
Terraform keeps track of resources using a state file (terraform.tfstate). This file must be stored securely.
1. Using Remote State with AWS S3
To store the state file remotely, create an S3 bucket and update main.tf:
terraform {
backend "s3" {
bucket = "my-terraform-state-bucket"
key = "terraform.tfstate"
region = "us-east-1"
}
}
Then, run:
terraform init
This configures Terraform to store the state file in the S3 bucket instead of locally.
2. Destroying Infrastructure
To remove all resources created by Terraform, run:
terraform destroy
This will delete the EC2 instance and any other resources created.
Best Practices for Using Terraform on AWS
Use Version Control
Store your Terraform code in a Git repository. Use branches to manage changes.
Implement Remote State Management
Store the state file in S3 with DynamoDB locking to prevent conflicts.
Use Terraform Modules
Create reusable modules for common resources like EC2, VPCs, and databases.
Secure Sensitive Data
Use AWS Secrets Manager or environment variables for storing credentials.
Integrate with CI/CD Pipelines
Use AWS CodePipeline, GitHub Actions, or Jenkins to automate Terraform deployments.
Conclusion
Terraform makes it easy to manage infrastructure on AWS by defining resources in code. In this guide, we:
- Installed and set up Terraform
- Defined and deployed an AWS EC2 instance
- Managed Terraform state
- Learned how to destroy resources and follow best practices
By using Terraform, teams can ensure infrastructure consistency, reduce manual errors, and scale cloud environments efficiently. Start experimenting with Terraform today and explore more advanced concepts like networking, security groups, and database provisioning!
Why Choose Intuz for Terraform + AWS Services?
We offer end-to-end DevOps services tailored for fast-growing teams and enterprises:
✅ Custom Terraform module development
✅ Secure AWS multi-environment setups
✅ S3 + DynamoDB state management
✅ CI/CD integration (GitHub Actions, GitLab, Jenkins)
✅ Cost optimization & compliance automation
✅ Post-deployment support & monitoring
Let's Automate Your Cloud
Our certified DevOps engineers specialize in Terraform + AWS infrastructure automation. Whether you’re starting from scratch or scaling an existing cloud setup — we can help. Schedule a Free DevOps Consultation


